Understanding the right contour placement for oval face shapes can completely transform the way your features appear in natural and artificial lighting. While many people assume contouring is just about blending dark powder beneath the cheekbones, beauty experts say there is actual science behind why certain placements work better than others depending on your unique facial structure. Oval faces are often considered the most balanced and symmetrical, but without proper technique, even this versatile shape can lose its natural definition.
In this comprehensive guide, we will break down the facial contouring techniques that professional makeup artists trust daily. You will learn about cheekbone sculpting, the best bronzer placement tips, how face shape analysis plays a role, and which highlighting and shading methods actually deliver results. Whether you are a beginner exploring contouring basics or someone refining your routine, this article gives you expert-backed knowledge to master contour placement for oval face shapes with confidence and precision every single time you pick up your brush.
What Is Contouring and Why Does Face Shape Matter
Contouring is a makeup technique that uses light and dark shades to define, sculpt, and enhance your natural bone structure. The concept has been around for decades, originally used in theater and film to reshape facial features under harsh lighting. Today, it has become a mainstream beauty practice embraced by professionals and everyday makeup lovers alike. However, the key to flawless results lies in understanding that not every face requires the same approach. Your face shape determines where shadows and highlights should fall, making contour placement for oval face shapes a unique process compared to round, square, or heart shaped faces.
How Face Shape Analysis Works
Before picking up a brush, beauty experts always recommend performing a quick face shape analysis. This involves measuring the width of your forehead, cheekbones, jawline, and the overall length of your face. An oval face is typically longer than it is wide, with a slightly narrower forehead and jaw compared to the cheekbones. Recognizing these proportions is the first step toward mastering contour placement for oval face structures because it tells you exactly where definition is needed and where it is not.
The Science Behind Contour Placement for Oval Face Shapes
The reason contouring works comes down to how human eyes perceive light and shadow. Darker shades create the illusion of depth, making areas appear recessed, while lighter shades bring features forward. Beauty experts explain that contour placement for oval face types should focus on maintaining the natural balance that this face shape already has rather than dramatically altering proportions. The goal is subtle enhancement, not complete reshaping.
Why Oval Faces Are Considered Ideal for Contouring
Oval faces have naturally balanced proportions, which means there is more flexibility with contour placement for oval face shapes. Professional makeup artists consider this shape the most forgiving because the symmetry allows contouring to enhance features without the risk of creating harsh or unnatural lines. That said, even oval faces benefit from strategic sculpting to add dimension and prevent the face from appearing flat, especially in photographs or under direct lighting.
Key Areas to Focus On
When working with contour placement for oval face shapes, experts identify three primary zones that deserve attention. The hollows of the cheeks are the most common area, followed by the temples and the perimeter of the forehead. Some artists also recommend light contouring along the jawline to add subtle definition. Each zone serves a different purpose, and understanding these areas helps you achieve a polished, multidimensional look that appears effortless.
Step by Step Process for Perfect Contour Placement
Getting the technique right requires a clear process that anyone can follow regardless of skill level. Beauty professionals recommend building your contour gradually rather than applying heavy product all at once. This approach ensures a natural finish and gives you full control over the intensity.
Preparing Your Base
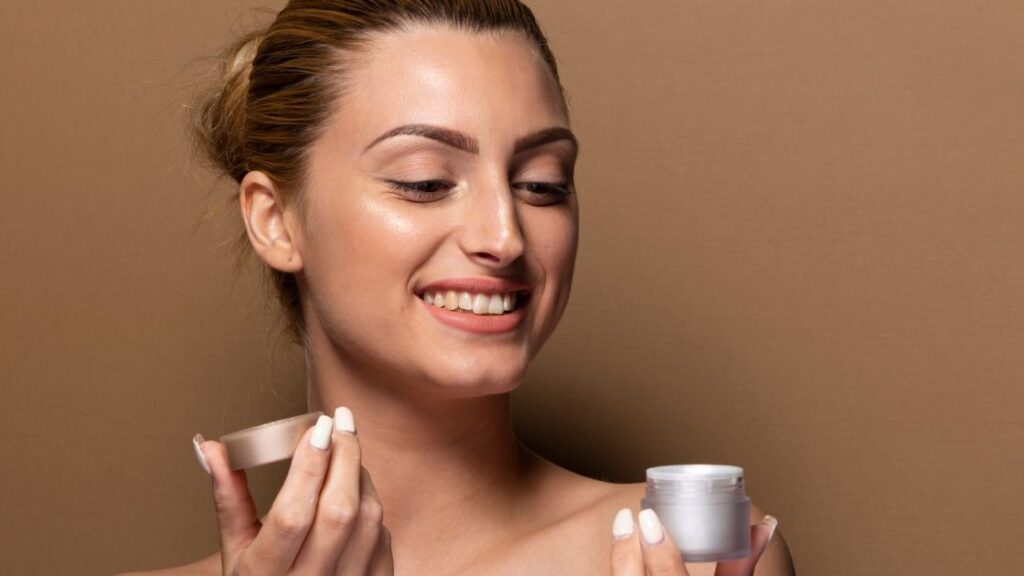
Always start with a well moisturized face and a smooth foundation base. Primer helps your contour products blend seamlessly and last throughout the day. Without proper skin preparation for contouring, even the best placement can look patchy or uneven. Choose a foundation that matches your skin tone perfectly so your contour shades appear natural against your base.
Applying Contour to the Right Zones
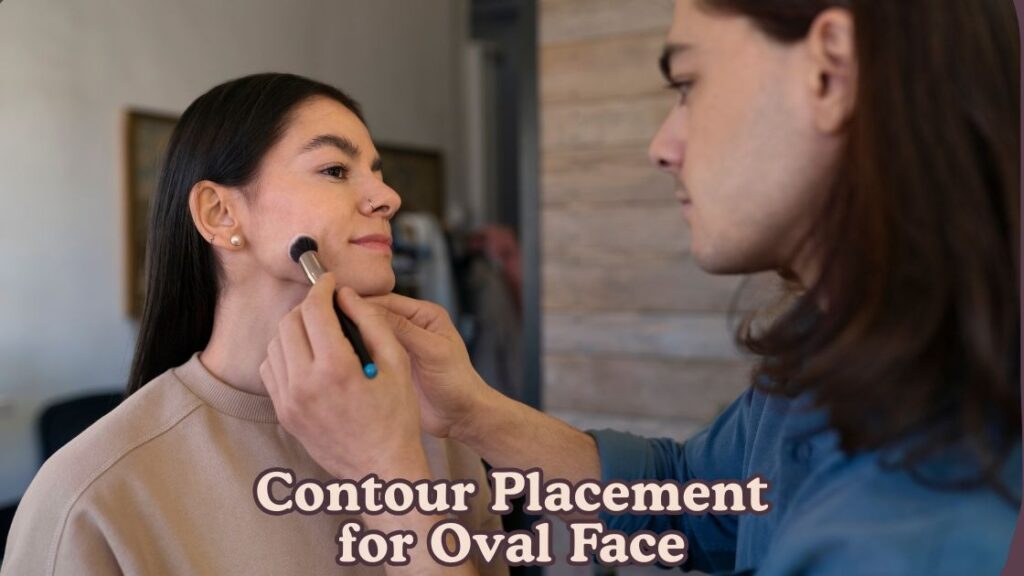
For contour placement for oval face types, begin at the hollows of your cheeks. Suck in your cheeks gently and apply your contour shade along the natural shadow line that appears. Next, lightly sweep product along your temples to create a soft frame around the upper face. Then apply a thin line along the hairline on your forehead to prevent the face from looking overly elongated. Finally, blend a small amount along the jawline for added structure. The key with contour placement for oval face shapes is keeping everything subtle and well blended.
Blending Techniques That Experts Recommend
Blending is arguably the most critical step in the entire process. Without proper blending, even accurate contour placement for oval face shapes will look streaky or obvious. Use a damp beauty sponge or a fluffy brush to diffuse the edges of your contour product. Always blend in upward and outward motions to lift the face rather than drag it downward.
Best Products and Tools for Oval Face Contouring
Choosing the right products makes a significant difference in how your contour placement for oval face turns out. Cream contours offer a dewy, skin like finish that works beautifully for everyday wear. Powder contours provide a matte look that is ideal for oily skin types or long lasting events. Here are the essential tools every beginner and professional should have.
- A contour product that sits one to two tones deeper than your actual complexion
- A highlighter for the high points of your face such as the nose bridge and brow bone
- A tapered blending brush for precise cheekbone sculpting
- A damp beauty sponge for seamless cream product application
- A setting spray to lock your contour placement for oval face in place all day
Common Mistakes to Avoid
Even with the right knowledge, mistakes can happen when you are learning. Being aware of these common errors will save you time and frustration.
- Placing contour too low on the cheeks which creates a droopy appearance
- Using a shade that is too dark for your skin tone resulting in muddy patches
- Skipping the blending step which makes contour placement for oval face look unnatural
- Ignoring the temples and forehead which leaves the face looking one dimensional
- Applying too much product at once instead of building color gradually
Tips From Professional Makeup Artists
Seasoned beauty experts suggest practicing your contour placement for oval face in natural daylight because artificial lighting can be deceiving. They also recommend using a light hand and layering product slowly for the most realistic results. Another valuable tip is to always check your makeup from different angles using a handheld mirror. What seems flawless from the front could look patchy when viewed from the side. Experts also emphasize that bronzer blending for oval faces and cheekbone highlighting should complement your contour rather than compete with it. When all three elements work together, your contour placement for oval face will look effortlessly sculpted and professionally finished every single time.
Conclusion
Mastering contour placement for oval face shapes does not have to feel complicated or overwhelming once you understand the science and technique behind it. Throughout this guide, we explored how face shape analysis, proper product selection, and strategic shadow placement all work together to create a naturally sculpted appearance. The key takeaway is that oval faces already have balanced proportions, so your contouring approach should focus on enhancing that natural symmetry rather than dramatically reshaping your features.
By following the step by step process shared by beauty experts, you can confidently apply contour to the cheek hollows, temples, forehead, and jawline without worrying about harsh lines or muddy patches. Remember that blending remains the most important part of the entire routine, and investing in quality tools like tapered brushes and damp beauty sponges will make a noticeable difference in your results.
Whether you prefer cream or powder formulas, the principles of contour placement for oval face shapes remain the same. Start with a light hand, build gradually, and always check your work in natural lighting from multiple angles. Combining your cheekbone sculpting with proper highlighting and shading methods will give your face beautiful dimension that looks professional yet effortless. With consistent practice and patience, your facial contouring techniques will improve over time, and achieving that flawless, expert level contour placement for oval face will become second nature in your daily beauty routine.